At Ahimsa Media, we have a winter holiday tradition of posting an environmentally friendly activity that you can do with your families. This is our present to the many wonderful people in our lives and that we meet throughout the year. As the Ahimsa Media site is a little out of date and doesn’t reflect our current projects, I am posting this year’s holiday activity here, and will update to Ahimsa Media, as we update the site in the New Year. This is not just from me, but from all of the wonderful guys and gals that work with me at Ahimsa Media.
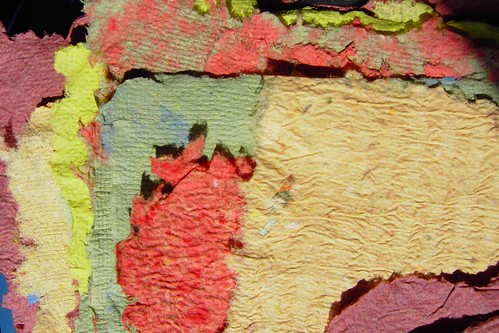
Paper Making

Photo by pusteblume
Paper making has always been a favourite holiday past time of mine, is a great way to recycle used paper, makes great gifts and is just a fun way to pass the time with family and friends of any age. Although there are times when the mess I make in the living room would cause my Dad to disagree. That mess comes naturally to me though. I’m guessing that most of you can do this in a much tidier fashion.
Supplies
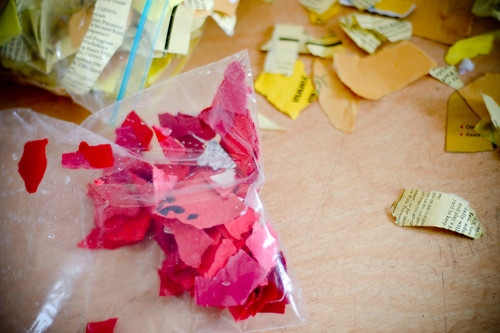
- Recycled Paper
- An Old Blender
- Bowls
- Ladles
- Tupperware and Recyclable Plastic Containers (yogurt, ice cream containers…etc)
- Assorted Sizes of Elastic Bands
- Door Screen (can be purchased cheaply from a hardware store)
- Old Newspaper
- Old Towels
- Dull Knife (a plastic one is good for kids)
- Cookie Cutters (optional)
- Flower Petals (optional)
- Leaves (optional)
- Seeds (optional)


Making the Pulp

- Separate the paper by colour.
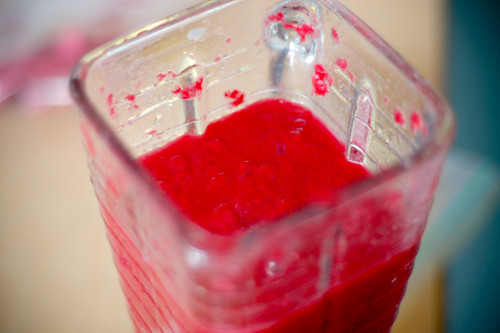
- In a blender, place two handfuls of one colour of paper with at least two cups of water. Blend. **Note – do not over fill – or else your kitchen will be covered in pulp.**
- Add more paper and water as needed.
- If you are short a particular colour, you can add white paper to augment the coloured paper.
- Once you have a nice papery mud like consistency, your pulp is made!!! Pour into a bowl.
- Make the next colour.

Building the Screen
- Get a series of different shaped tupperware / recyclable containers and cut out door screen to cover the containers with at least 2 inches of overlap on all sides.
- Place screen over the open side of the container.
- Fasten screen to the container with an elastic band and pull screen taut.
- Presto! One screen done. Make more of different sizes and shapes.

Making the Paper
- Place a small amount of pulp on the screen.
- Use a knife to spread the pulp out across the entire screen. I find this is done best in soft chopping motions. The thinner the pulp, the thinner the paper.
- Create designs on the pulp by using different colours, placing the cookie cutters on the screen and using them to create different coloured objects (by putting different coloured pulp in a thin layer inside the cookie cutter on the screen before removing the actual cookie cutter), and by placing leaves and flower petals on top of the pulp.
- Take two pieces of newspaper and fold into a size that will cover the container.
- Place folded paper on top of the pulp covered screen.
- Over a bowl, turn the container sideways, to allow the water to pour off whilst holding the newspaper firmly in place.
- Turn container upside down, whilst holding the newspaper in place.
- Carefully lift the container, leaving the pulp on the newspaper.
- Fold a second newspaper and cover the pulp.
- Fold newspaper bundle up in an old towel.
- If you want thin paper, place a heavy book on top of the bundle.
- Leave for 24 – 48 hours, then pull back the towel and newspaper to reveal your handmade paper.

Ideas for the Kids:
- Make extra thick paper on round yogurt containers to make paper ornaments for the tree.
- Add seeds to the pulp and you can plant and water your paper when you are done with it. I usually use wildflower seeds, place the paper in a sunny spot, sprinkle it with top soil and water it.
Hope you have as much fun with this as I do. Don’t be afraid to comment or email, if you have a tip, a modification or a question.
Happy Holidays!
Erica

Connect with Erica!